I'm too lazy to make an intro, so here are the following methods:
also never call a qianjin a
nut, it makes me s h u d d e r (even though the term is used for violin, which is understandably comparable)
Method 0:
The positioning:
The position of ur qianjin is where the root of ur pinky finger is when u place ur elbow on the soundbox. This is a rough estimate, but everyone has different finger lengths, so find a nice place to adjust it... whatever alien u are. If ur not full grown yet, then you should keep changing the height of ur qianjin as u age. If its already comfortable, then leave it that way...obviously. A higher qianjin means that the note spacing is bigger and to tune it to D and A will mean the tension is higher, producing a brighter sound.
Reducing noise:
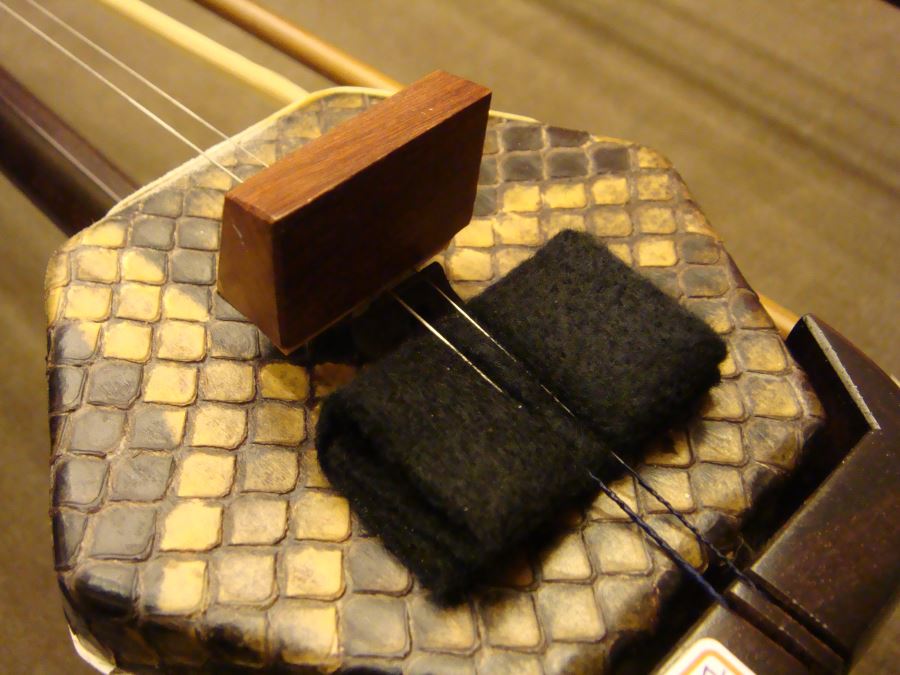
You can add some soft or thin material above or below (or both) the qianjin to reduce some "unwanted" noise while playing. Commonly used items are paper, rubber bands, cloth (maybe from the dampener), eraser bits, or pieces of (used jk) toilet paper.
Fine tuning:
If ur annoyed by these...
eating your bowhairs...
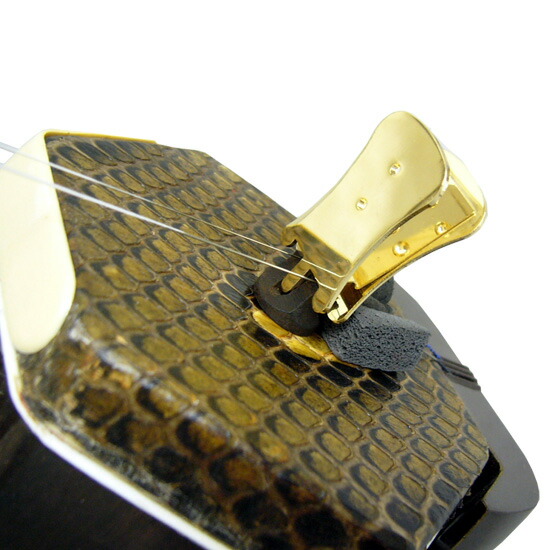
then you have the alternative to change to these...
It's a miniature qianjin wound around each string individually. You can tie 1-3 loops around each string (see method 1). Move up to increase the pitch, move down to decrease the pitch. Basically you can use your left over bits of string for this.
Method 1: for normies
Measure out 50-60 inches of thread.
I use the (white) cotton ones, they are easier to work with, but the (brown) thicker nylon ones I use for zhonghus.
It doesn't really matter how many ties you do for each section, as long as it's stable, but here are some options:
Erhu/Gaohu二胡/高胡
3 5 3
2 5 4
1 6 1 + glue
Zhonghu中胡
3 7 3
2 7 4
Please do learn this to increase ur IQ by 1 point (100% researched and confirmed jk)
Also some professionals cant even do dis rite
Basic steps:
1) Make a loop using the thread ur using.
2) Tie loops around the neck.
This is
X X X of the qianjin # thing.
3) Tie loops around the strings and alternate between the neck and string after that. Make the width between the neck and string roughly the width of your thumb. Make sure the qianjin is tied not too narrow or wide. Having a wide qianjin will result in wolf tones and an unstable sound, and there will be problems with the open strings having different pitches when pulling and pushing the bow. Having a narrow qianjin will make the string stiffer and will produce a more tinny sound. If your hands are bigger or smaller, you can still adjust the width however you want, but still take note of the effects a narrow/wide qianjin will make. Also, there should be an angle formed from the strings starting from the pegs, to the qianjin, and to the bridge. To maintain the angle, when stringing your erhu, keep them looped as close to the ends of the pegs as possible.
This is X
X X of the qianjin # thing.
4) Tie loops around the neck again.
This is X X
X of the qianjin # thing.
5) Thread the end of the thread through the loop you initially made, and pull the ends of the entire thing. Focus more on the bottom thread, where the loop is absorbed into the loops you previously made to the center of it all. As a result, a knot is made inside the qianjin. FYI, you can tie this entire thing upside down, no difference.
6) Here's roughly how the finished thing should look like.
The dark red color is an x-ray btw
Other pics of finished product:

Method 2: edgy wae
This method adds a gap between the two strings.
Method 3: buying unpopular or knock-off qianjin patents to solve ur problems
The breakdown:
 A:
A: normies
B: metallic, easy installation, annoying tinny open string sound
C: less annoying sound, still requires qianjin tying skills, but can be lazy by using zip ties
D: weird contraption (qianjin + fine tuners)
E: extreme string angle type fine-tuning-qianjin...metallic open string sound
The end
Now lets all laugh at this photo of a ”qianjin“


